
The other book is a joint project with the other editors of GeekMom! I'll post more news of that as it develops.

 Materials:
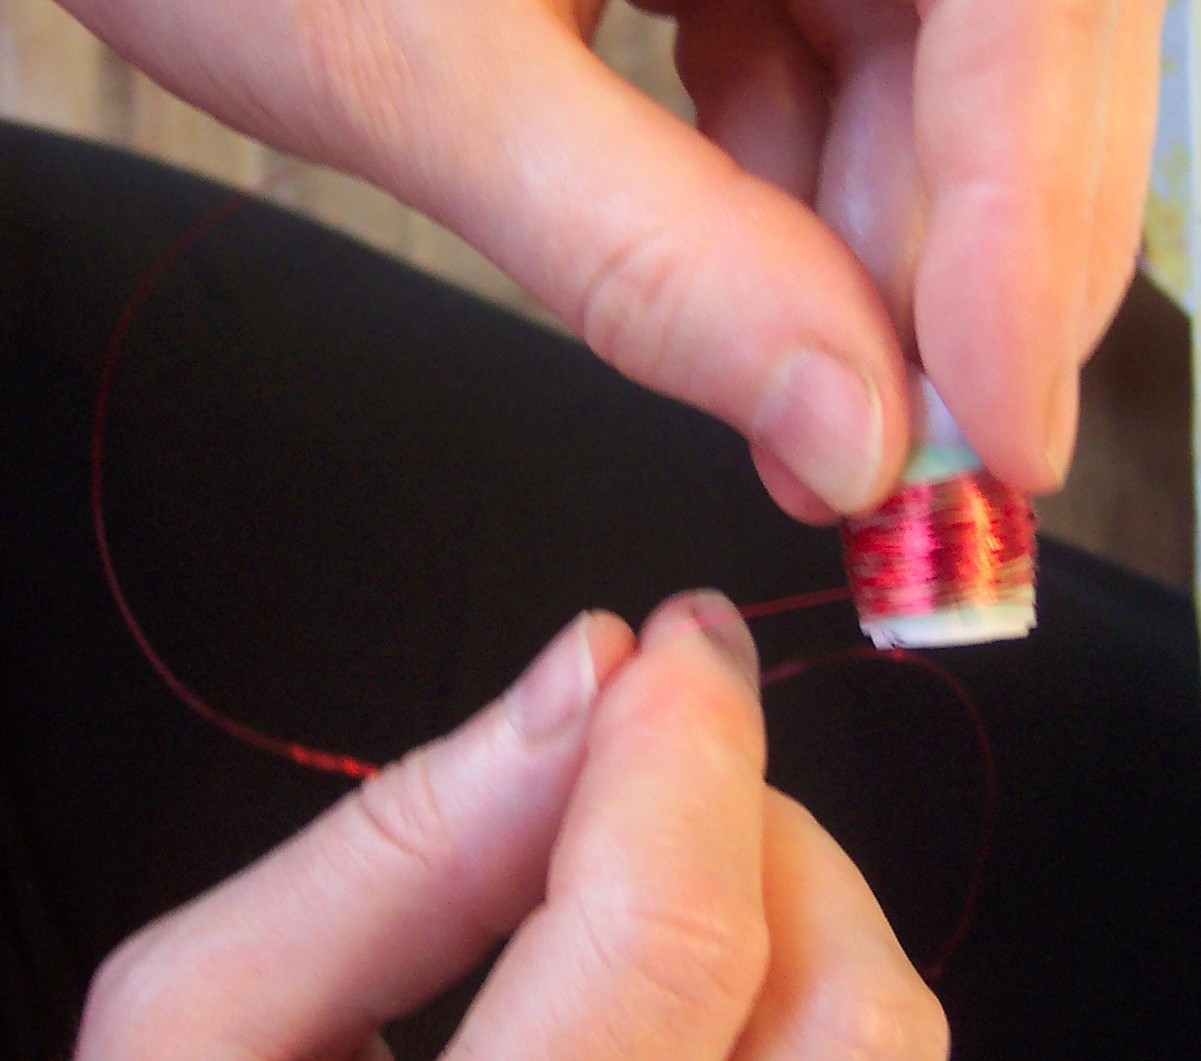 3. Keeping the magnet inside the tubes of paper, we coiled the copper wire around it, using about 50 turns. Leave a few inches of copper wire uncoiled on each end.


A microwave oven heats up food using microwaves - these are electomagnetic waves that cause electric current to move back and forth between the two halves of the grape. This current is concentrated in the piece of skin between the two, which will heat up and dry out. The current then has to move through the air, creating a spark.
The spark is created when the electric field rips electrons off atoms. These can then move freely and carry electric current. A gas with free electrons and positive ions is also known as a plasma. This plasma conducts electricity and can absorb microwaves. Sometimes the plasma gets big enough to absorb enough microwaves to keep growing.
There's two clean grape surfaces that are separated by a fraction of a millimeter near the corner of an air wedge. The electric field between the grape portions at the tip of the wedge is large enough to cause breakdown in the air gap, making a plasma ball there.


In chemistry, electrolysis is a method of separating bonded elements and compounds by passing an electric current through them. An ionic compound, in this case salt, is dissolved with an appropriate solvent, such as water, so that its ions are available in the liquid. An electrical current is applied between a pair of inert electrodes immersed in the liquid. The negatively charged electrode is called the cathode, and the positively charged one the anode. Each electrode attracts ions which are of the opposite charge. Therefore, positively charged ions (called cations) move towards the cathode, while negatively charged ions (termed anions) move toward the anode. The energy required to separate the ions, and cause them to gather at the respective electrodes, is provided by an electrical power supply. At the probes, electrons are absorbed or released by the ions, forming a collection of the desired element or compound.According toWikipedia, this is the formula for the chemical reaction taking place:
One important use of electrolysis is to produce hydrogen. The reaction that occurs is 2H2O(aq) → 2H2(g) + O2(g). This has been suggested as a way of shifting society towards using hydrogen as an energy carrier for powering electric motors and internal combustion engines. Electrolysis of water can be achieved in a simple hands-on project, where electricity from a battery is passed through a cup of water (in practice a saltwater solution or other electrolyte will need to be used otherwise no result will be observed). Electrolysis of an aqueous solution of table salt (NaCl, or sodium chloride) produces aqueous sodium hydroxide and chlorine, although usually only in minute amounts. NaCl(aq) can be reliably electrolysed to produce hydrogen. Hydrogen gas will be seen to bubble up at the cathode, and chlorine gas will bubble at the anode.
2 NaCl + 2 H2O → Cl2 + H2 + 2 NaOH